Running mitmproxy on a Raspberry Pi
09. Oct 2024, #web #network #reverse engineering #raspberrypi
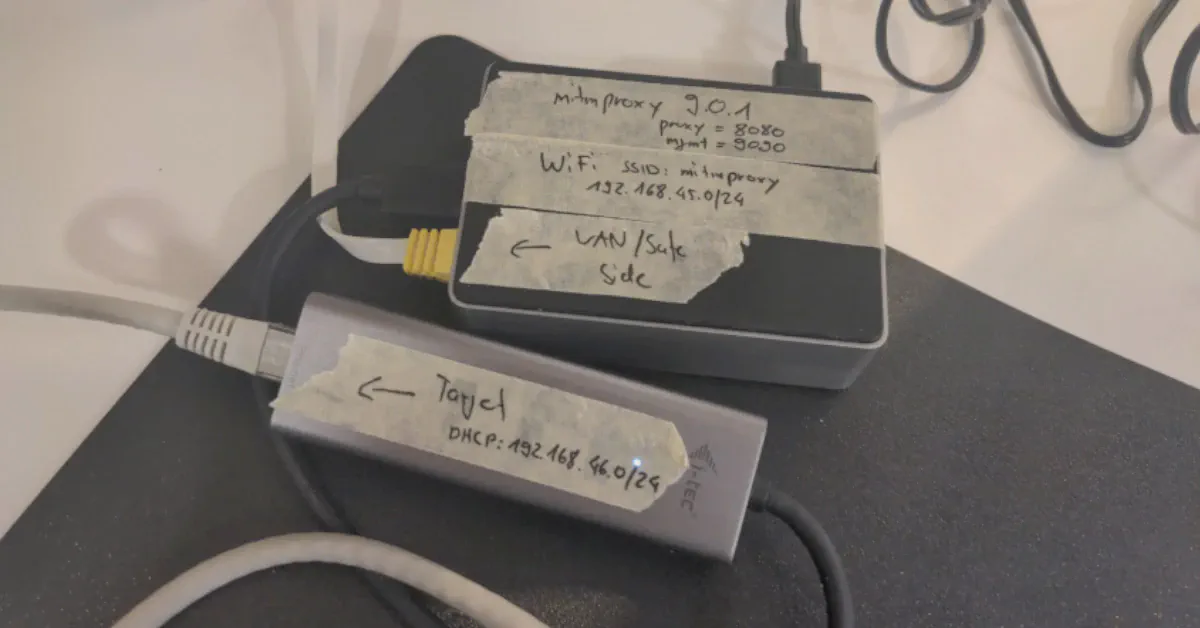
Sometimes, programs do not have a proxy option and/or ignore the system-wide proxy. In this case, you can try a tool like proxychains↗. Despite this, some developers want to hide something so badly that they even ignore or circumvent such options. For those cases, or just for convenience, you need to interact with the traffic after it has left your client. This guide will show you how to set up mitmproxy↗ on a Raspberry Pi 4 to sniff both ethernet and Wi-Fi traffic.
This guide was originally based on dinofizzottis guide↗.
This post was originally posted in February of 2023 but has been updated for Debian 12 Bookworm, which includes a switch from isc-dhcp-server to dnsmasq.
Requirements #
- Raspberry Pi
- Micro SD card
- USB Ethernet Adapter (Check for Linux compatibility)
Older Raspberry Pi’s and alternative Linux SBCs should also work. Keep in mind that you need two ethernet ports and one Wi-Fi card for this setup. Also, this is not a beginner’s guide and was written with some Raspberry Pi & Linux know-how in mind!
Flash SD Card #
First, you need to flash the SD card with the OS. For this use the official Raspberry Pi Imager↗.
- Download and install the imager based on your own operating system.
- Inside the imager choose “Raspberry Pi OS Lite 64bit” as the OS option.
- Change the system settings to your liking. Also, remember to create a user or you’ll need a keyboard and monitor upon booting the Pi for the first time.

Updates & Prerequisites #
After flashing the SD card:
- Insert the flashed SD card into the Pi.
- Plug in the USB ethernet dongle.
- Plug a network cable into the built-in port (which will act as “WAN”).
- Boot the Pi.
- Log into the Pi with either a USB keyboard,
ssh, or a serial cable. - Switch to the root user by running
sudo su. - Update the operating system and install dependencies.
apt update
apt full-upgrade -y
apt autoremove -y
apt install iptables hostapd dnsmasq iptables-persistent -y
Static IP #
First, identify your network interfaces. The built-in ethernet should be eth0 and the built-in Wi-Fi should be wlan0. You need to remember the interface name of your USB dongle. Normally this should be eth1. For the rest of this guide, eth1 will be used when referencing the USB ethernet dongle.
Give both the interface wlan0 and eth1 a static IP address. The ranges 45 and 46 were chosen at random. You can change this but keep in mind to adjust all other addresses in this guide as well.
- Create
/etc/network/interfaces.d/wlan0
auto wlan0
iface wlan0 inet static
address 192.168.45.1
netmask 255.255.255.0
gateway 192.168.45.1
dns-nameservers 127.0.0.1
- Create
/etc/network/interfaces.d/eth1
auto eth1
iface eth1 inet static
address 192.168.46.1
netmask 255.255.255.0
gateway 192.168.46.1
dns-nameservers 127.0.0.1
- Restart your network
systemctl restart networking
DHCP Server #
If the Pi acts as a DHCP server, it’s not needed to set static IP on clients that you want to sniff. For this to work, you need to configure the DHCP server dnsmasq that was installed before.
- Backup the default config
mv /etc/dnsmasq.conf /etc/dnsmasq.conf_default
- Create
/etc/dnsmasq.conf
dhcp-authoritative
interface=wlan0
interface=eth1
no-dhcp-interface=eth0
dhcp-range=set:wlan0,192.168.45.100,192.168.45.254,255.255.255.0,24h
dhcp-range=set:eth1,192.168.46.100,192.168.46.254,255.255.255.0,24h
dhcp-option=tag:wlan0,option:dns-server,192.168.45.1
dhcp-option=tag:eth1,option:dns-server,192.168.46.1
dhcp-option=tag:wlan0,option:router,192.168.45.1
dhcp-option=tag:eth1,option:router,192.168.46.1
The config above will enable the DHCP server on both interfaces and assign different ranges to them. They also set the DHCP options for the router (gateway) and the DNS server.
- Start the DHCP & DNS server
systemctl restart dnsmasq
systemctl enable dnsmasq
Access Point #
To configure the Pi as a Wi-Fi access point, you have to edit the config of hostapd.
- Create
/etc/hostapd/hostapd.conf
interface=wlan0

ssid=YOURWIFINAME
channel=6
hw_mode=g
ieee80211n=1
ieee80211d=1
country_code=YOURCOUNTRYCODE
wmm_enabled=1

auth_algs=1
wpa=2
wpa_key_mgmt=WPA-PSK
rsn_pairwise=CCMP
wpa_passphrase=YOURWIFIPASSWD
- In the config above, change:
YOURWIFINAMEto the SSID you want your access point to haveYOURCOUNTRYCODEto the two-character country code of your countryYOURWIFIPASSWDto the Wi-Fi password you want the access point to have
- Set the correct permission on the file.
chmod 600 /etc/hostapd/hostapd.conf
- Edit
/etc/default/hostapd
RUN_DAEMON=yes
DAEMON_CONF="/etc/hostapd/hostapd.conf"
- Unmask the service and add it to the startup:
systemctl unmask hostapd.service
systemctl enable hostapd.service
Routing #
In order for your Pi to route traffic, there is a single step required. For this to take effect, reboot the Pi.
- Edit
/etc/sysctl.conf.
net.ipv4.ip_forward=1
The above commands will enable IPv4 traffic forwarding which is required as the Pi will forward incoming traffic on wlan0 and eth1 to eth0.
mitmproxy #
Once the Pi is rebooted, log back in. Now you need to install the proxy itself. Without compiling the software yourself, the installation via pipx of the only option since there are currently no precompiled binaries for arm64.
- Install
pipx
apt install python3-pip python3-venv -y
pip install pipx --break-system
- Install
mitmproxyviapipxand addpipxto the path
pipx install mitmproxy
pipx ensurepath
Forcing traffic #
To force traffic coming from wlan0 and eth1 into mitmproxy, some iptables rules can be used. For this, execute the following commands:
# forward traffic coming from wlan0 to eth0
iptables -A FORWARD -i eth0 -o wlan0 -m state --state RELATED,ESTABLISHED -j ACCEPT
iptables -A FORWARD -i wlan0 -o eth0 -j ACCEPT

# forward traffic coming from eth1 to eth0
iptables -A FORWARD -i eth0 -o eth1 -m state --state RELATED,ESTABLISHED -j ACCEPT
iptables -A FORWARD -i eth1 -o eth0 -j ACCEPT

# force the traffic from ports 80,443,8080,8443 into the http proxy
# you can add more ports here with a line each for wlan0 and eth1
iptables -t nat -A PREROUTING -i wlan0 -p tcp -m tcp --dport 80 -j REDIRECT --to-ports 8080
iptables -t nat -A PREROUTING -i eth1 -p tcp -m tcp --dport 80 -j REDIRECT --to-ports 8080
iptables -t nat -A PREROUTING -i wlan0 -p tcp -m tcp --dport 443 -j REDIRECT --to-ports 8080
iptables -t nat -A PREROUTING -i eth1 -p tcp -m tcp --dport 443 -j REDIRECT --to-ports 8080
iptables -t nat -A PREROUTING -i wlan0 -p tcp -m tcp --dport 8080 -j REDIRECT --to-ports 8080
iptables -t nat -A PREROUTING -i eth1 -p tcp -m tcp --dport 8080 -j REDIRECT --to-ports 8080
iptables -t nat -A PREROUTING -i wlan0 -p tcp -m tcp --dport 8443 -j REDIRECT --to-ports 8080
iptables -t nat -A PREROUTING -i eth1 -p tcp -m tcp --dport 8443 -j REDIRECT --to-ports 8080

# turn on masquerading
iptables -t nat -A POSTROUTING -o eth0 -j MASQUERADE

iptables-save | tee /etc/iptables/rules.v4
The above command will:
- Enable masquerading↗
- Forward traffic from
wlan0andeth1toeth0 - Force traffic on ports 80, 443, 8080, and 8443 into port 8080, which will be
mitmproxy
The iptables commands from above are not persistent yet. You probably do not want to execute those each time the Pi boots so:
- Edit
/etc/rc.localand add the above line before theexit
iptables-restore < /etc/iptables/rules.v4
Autostart #
To automatically start the proxy, add a small bash script.
- Create
/opt/mitm.sh
#!/bin/sh
/root/.local/bin/mitmweb --mode transparent --web-port 9090 --web-host 0.0.0.0 -k &
- Make it executable
chmod +x /opt/mitm.sh
- Run
crontab -eand add:
@reboot sleep 10; systemctl restart hostapd
@reboot sleep 20; systemctl restart dnsmasq
@reboot sh /opt/mitm.sh
In addition to adding the automatic start of mitmproxy, the above command will fix the common error of network interfaces not being available when the services start. This is done by restarting the services after a delay.
- Reboot the Pi.
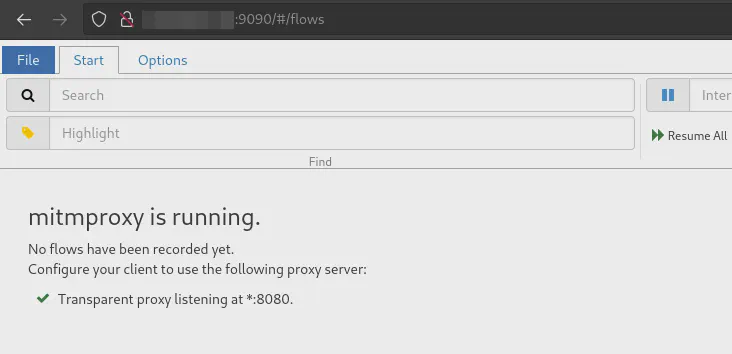
After logging back in, check that the web interface is reachable via port 9090. If not, try to start the proxy by hand with sh /opt/mitm.sh and look for error messages.

Client Setup #
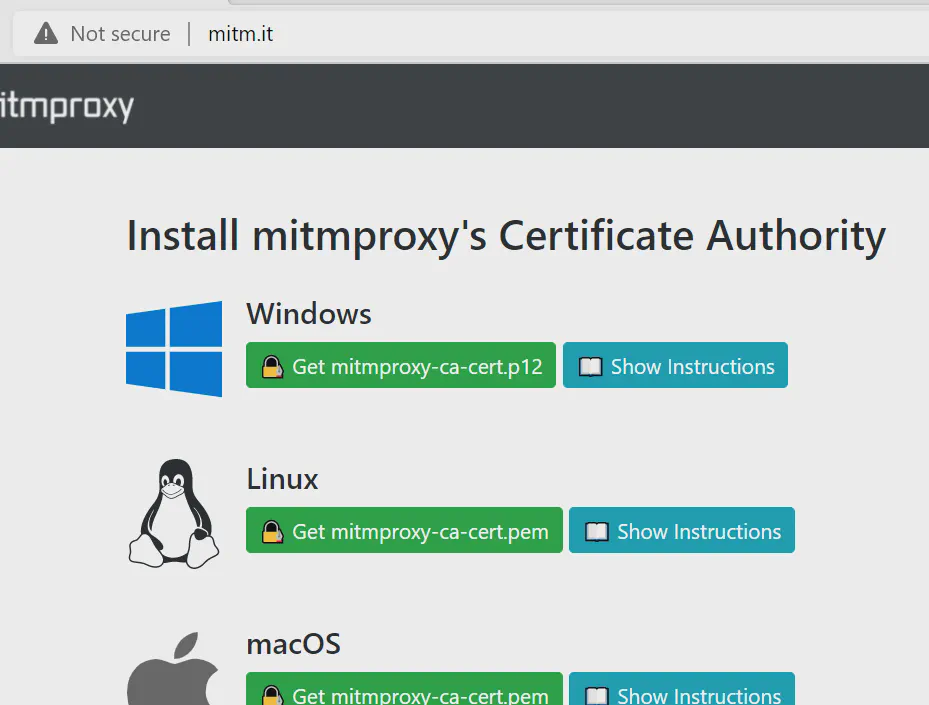
To set up a client connect it first via ethernet or the Wi-Fi access point. It should get an IP address from the DHCP server configured before. Some warning of SSL errors may appear and in some cases, the device will even think that it has no internet connection. This is because the device does not yet trust the generated certificate of the proxy. To install this certificate, visit “http://mitm[.]it” with the connected device.

On this site, you will find a guide on how to install the certificate for all common devices and operating systems. This certificate is unique per installation of mitmproxy. This means that your device will not trust the certificate of another installation.
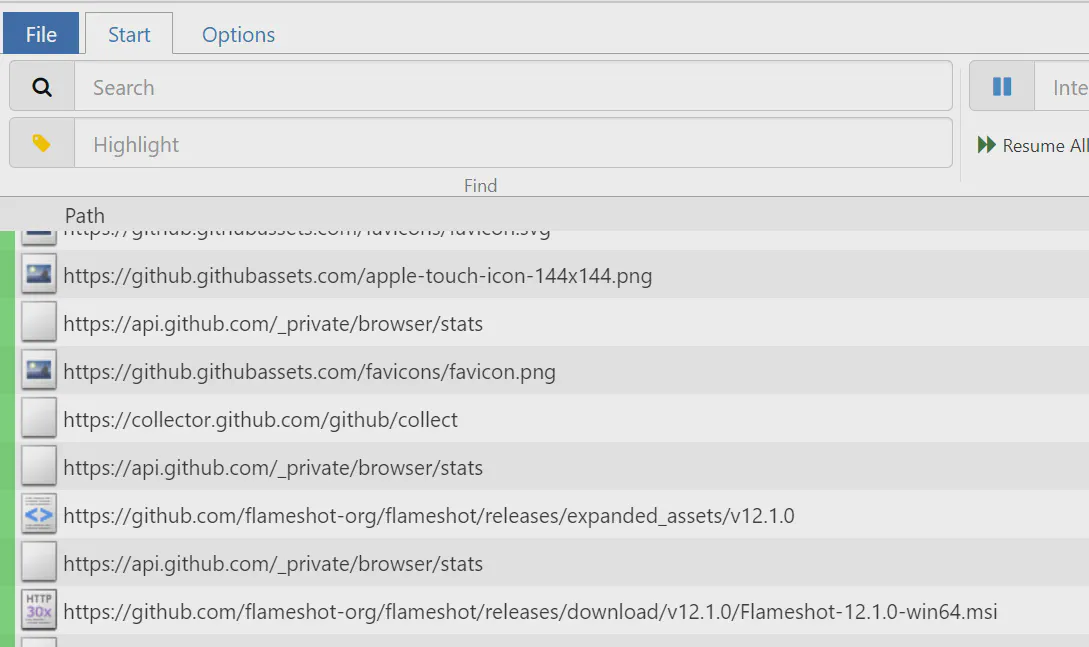
With the certificate trusted, you should now be able to see traffic inside the management web interface of the proxy as long as the sender does not rely on certificate pinning.
